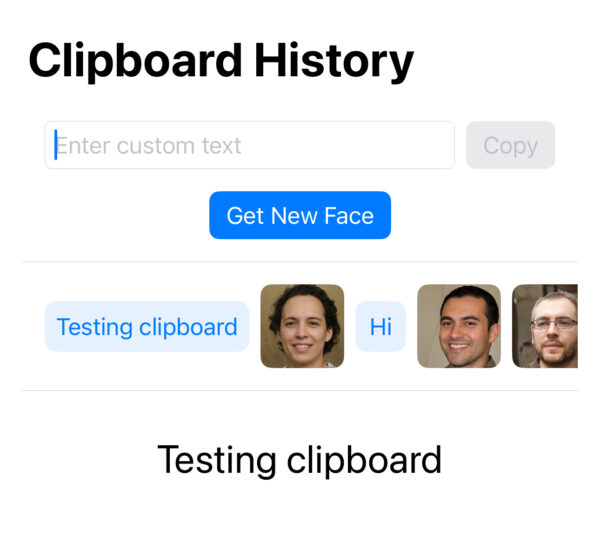
If your user need a way to quickly copy something to the clipboard, or pasteboard as Apple calls it, in your iPhone app, then UIPasteboard is the class that can be used to accomplish this. UIPasteboard has been available since iOS 3.0.

Learn How to Create iOS Apps
If your user need a way to quickly copy something to the clipboard, or pasteboard as Apple calls it, in your iPhone app, then UIPasteboard is the class that can be used to accomplish this. UIPasteboard has been available since iOS 3.0.
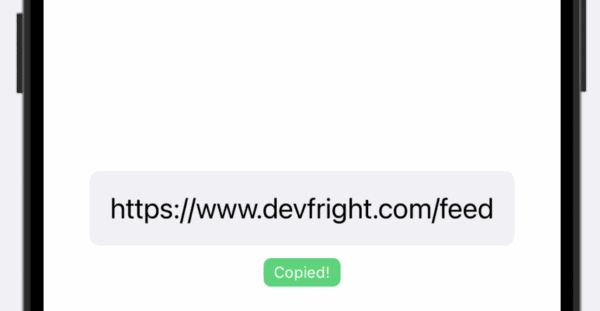
Swift makes it easy to allow deep links into your app. Deep links are especially helpful when wanting to direct users straight to specific content. One way I use deep links is sending emails to my task manager. When I see the task, I can click on a link and it opens up the Mail app on my Mac or iPhone directly into the app. Another use is Evernote. I can tap on a link and have the Evernote app open with the content I want to see.
You will see these links as message://link_to_some_page/id or evernote://some_note
Lets take a look at how this works.
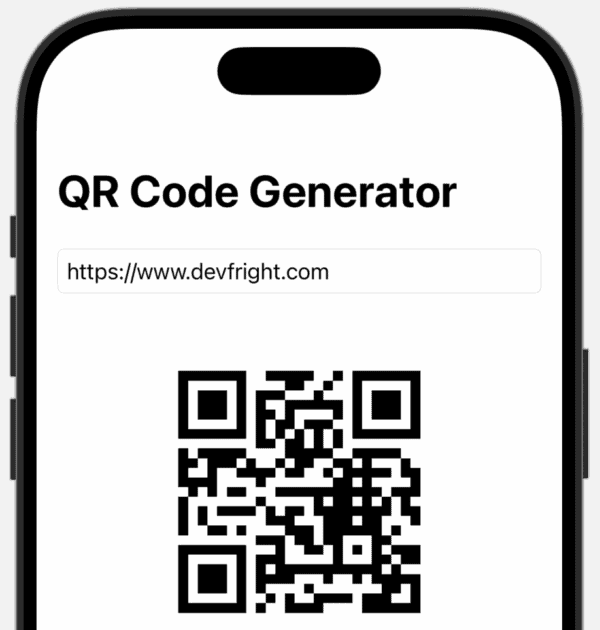
[Read more…]iPhone has had the ability to generate QR codes since iOS 5 that was released in 2011, yet, it is something that I have never used before in an iPhone app. QR codes are useful for many things from putting a URL on a flyer that someone can scan to visit a web address to showing on your phone to connect to a friend. In this tutorial, we’ll look at how a QR code is generated on the iPhone.
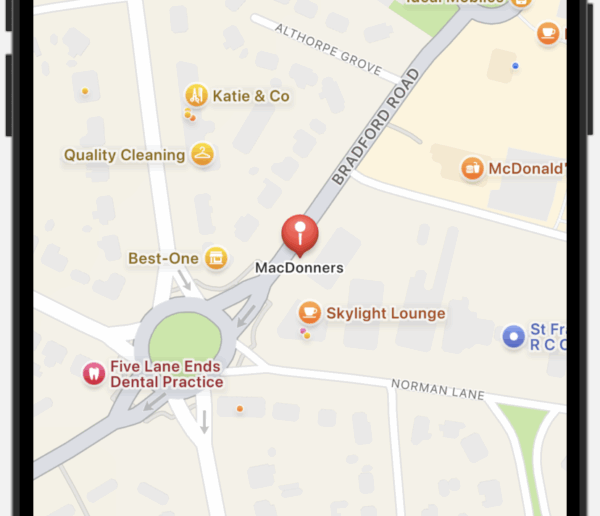
SwiftData is a framework that is built on top of Core Data and greatly simplifies working with data in your SwiftUI app. One caveat is that not all functionality of Core Data can be found in SwiftData. In this turorial we’ll look at the UndoManager that tracks changes and allows you to undo and redo changes you have made. This can be extremely useful for apps that implement SwiftData. SwiftData makes this process extremely simple to configure.
Lets begin with the app created in the ToDo List app with SwiftData. You can download this below.
[Read more…]The Picker has been around since iOS 2 and is known as the UIPickerView in UIKit. It joined SwiftUI in iOS 13 as “Picker”. As well as the Picker view, there is also the DatePicker view that you will also be familiar with using in apps.
The regular Picker also has a modifier called .pickerStyle that you can attach to that view where you can pass in various picker styles that conform to the PickerStyle protocol. In this tutorial we’ll look over some of these to show you ways how you might provide ways for your users to input the required information.
[Read more…]If you have come from a background using UIKit, you will have worked with ViewControllers and have seen several methods from the ViewController class that were called at certain times during the view loading. An example is viewDidLoad:
override func viewDidLoad() {
super.viewDidLoad()
// Custom setup code
print("View has loaded.")
}
The Slider has been around in iOS since the beginning. Apple included it in the SwiftUI framework beginning with iOS 13. The slider is a simple UI control that allows you to slide your finger across the screen and update a value behind the scenes. The last time I wrote about it was about 12 years ago demonstrating it with Objective-C code and a Storyboard. It’s time to provide a more current example.
When an app needs to take time to process something, such as waiting for a download or processing information, it’s ideal to provide a visual cue to show that something is happening. Depending on the task, you might choose to display a progress meter that estimates, or provides, the progress. Alternatively, you could simply show an animation to indicate that something is happening.
Today we’ll look at the latter and create a custom loading spinner.
[Read more…]The @Environment property wrapper in SwiftUI gives access to shared values across your app. Apple provides a wide range of values that are built-in to every app. These cover accessibility, layout, colours, and more. The system automatically updates the built-in environment values so that your app knows more about the environment it is running in.
Lets take a look at examples of the available @Environment values. The best way to explain is by diving into the code.
[Read more…]Building an app that works on both iPhone and iPad isn’t particularly complicated. SwiftUI provides the necessary tools to adapt to different screen sizes so that users get the best experience for the device they are currently using.
In this tutorial we’ll look at how to build a responsive design that works on the smaller iPhone screen as well as the larger screens found on the iPad. As a bonus, we’ll use the “Mac (Designed for iPad)” setting in the target so that you can use the app on any Mac that uses Apple Silicon.
[Read more…]