When an app needs to take time to process something, such as waiting for a download or processing information, it’s ideal to provide a visual cue to show that something is happening. Depending on the task, you might choose to display a progress meter that estimates, or provides, the progress. Alternatively, you could simply show an animation to indicate that something is happening.
Today we’ll look at the latter and create a custom loading spinner.
Creating the Spinner
struct Spinner: View {
    @State private var isAnimating = false

    var body: some View {
        ZStack {
            ForEach(0..<8, id: \.self) { index in
                Circle()
                    .fill(Color(hue: Double(index) / 8, saturation: 1, brightness: 1))
                    .frame(width: 12, height: 12)
                    .offset(y: -30)
                    .rotationEffect(.degrees(Double(index) * 45))
                    .opacity(isAnimating ? 0.3 : 1)
                    .animation(
                        .easeInOut(duration: 1).repeatForever(autoreverses: true)
                            .delay(Double(index) * 0.1),
                        value: isAnimating
                    )
            }
        }
        .rotationEffect(.degrees(isAnimating ? 360 : 0))
        .animation(.linear(duration: 1.5).repeatForever(autoreverses: false), value: isAnimating)
        .onAppear {
            isAnimating = true
        }
        .frame(width: 80, height: 80)
    }
}
We begin with creating the view for the spinner. It has a private variable that uses the @State property wrapper and defaults to false.
The body contains a ZStack. Feel free to switch that to a H or V Stack, but it wont function as needed because it relies on the ZStack so that each item does not interfere with the layout of the preceding dots that we will create.
We use a ForEach on line 6 that runs 8 times (0 to 7) and we provide the index of it so that we can use that number in calculating the position of each of the 8 generated circles.
Lines 7 – 17 uses a Circle view that uses the hue of a Color divided by 8. We set the size by setting the frame on line 9.
On line 10 we set the offset for y which is the distance away from the centre for the Circle (going upwards). The smaller the number the closer the Circles to the centre.
On line 11 we add a rotation effect setting degrees to the index, as a double * 45. These numbers were used because 8 Circles multiplied by 45 = 360, making a complete circle. It places the circles evenly around the centre.
We set the opacity next that is set to either 0.3 or 1 depending on isAnimating being true or false. 0.3 makes the circle more transparent than 1 which is fully visible.
The animation starting line 13 begins with an easeInOut and has a duration of 1 second. The repearForever means it repeats forever, and having the autoreverse set to true means that it will pulse back and forth. Adding the delay of the index * 0.1 means that a delay effect is created and each Circle in the spinner starts slightly after the other. The modifiers for the Circle views in the loop only deal with colour changes and positioning of the circles (not moving the circles once positioned). If you comment out the ZStack modifiers you will see the static circles pulsing between 0.3 and 1 opacity.
Line 20 is where we begin working on rotating the spinner. The rotationEffect applied to the ZStack adjusts it based on isAnimating either 360 or 0 degrees. This makes it rotate constantly.
Next, .animation has a linear duration of 1.5 seconds and is repeated forever, but has autoReverse set to false. This means that the spinner continues in the same direction and doesn’t rotate back and forth.
The .onAppear is where we start the spinner. We simply set isAnimating to true, and because it is wrapped in @State, the view begins the animation.
Using the Spinner in a SwiftUI View
You can see the spinner working by showing it in the view:
struct ContentView: View {
var body: some View {
VStack(spacing: 16) {
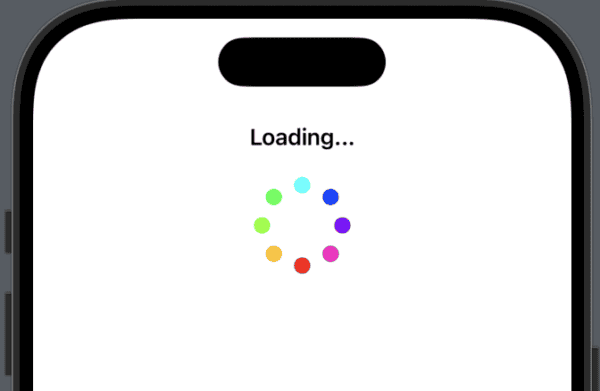
Text("Loading...")
.font(.headline)
Spinner()
Spacer()
}
.padding()
}
}
There’s nothing too exciting to see here. We’re calling Spinner() which is the name of the custom spinner view we created and placing it in a VStack with some Text above it and a Spacer view below to push it all up to the top of the view.
Have a play around with the values in the custom Spinner to get familar with how it works and how adjustments make things change. Even try putting it in a H or V stack to see what happens.
Leave a Reply
You must be logged in to post a comment.