iPhone has had the ability to generate QR codes since iOS 5 that was released in 2011, yet, it is something that I have never used before in an iPhone app. QR codes are useful for many things from putting a URL on a flyer that someone can scan to visit a web address to showing on your phone to connect to a friend. In this tutorial, we’ll look at how a QR code is generated on the iPhone.
Adding Properties
@State private var inputText = "https://www.devfright.com"
private let context = CIContext()
private let filter = CIFilter.qrCodeGenerator()
We begin by adding these three properties into our ContentView. The first, inputText, uses the @State property wrapper so that when the inputText changes, the view is refreshed.
The latter two are constants, one that holds the CIContext and the other that uses the qrCodeGenerator method in the CIFilter class. Details of these will be discussed later on.
Generating the QR Code
The next code is what we use to generate the QR Code.
func generateQRCode(from string: String, size: CGFloat = 512) -> UIImage {
    filter.message = Data(string.utf8)

    if let outputImage = filter.outputImage {
        let scaleX = size / outputImage.extent.size.width
        let scaleY = size / outputImage.extent.size.height
        let transform = CGAffineTransform(scaleX: scaleX, y: scaleY)

        let scaledImage = outputImage.transformed(by: transform)

        if let cgimg = context.createCGImage(scaledImage, from: scaledImage.extent) {
            return UIImage(cgImage: cgimg)
        }
    }

    return UIImage(systemName: "xmark.circle") ?? UIImage()
}
We accept a string which is the string that we want creating into a QR code. We also specify a size that we want the image and tell it we want to return a UIImage.
Line 2 we use our filter (the CIFilter.qrCodeGenerator()) and set the message property to the string, but convertated to utf8 Data. This is required because the filter expects Data and not a string.
At this point we now have a QR code that can be accessed at filter.outputImage, but we’re not quite ready yet. The CIImage that has been created needs to be converted to a UIImage so that it can be seen in the view. As a CIImage is low resolution, in this test it is 27.0 points on the width and height.
Lines 4 to 14 show how we can modify the CIImage. We begin by getting the outputImage from the filter and storing that in outputImage.
Lines 5 and 6 we calculate the x and y scale by divding the outputImage’s width and height into the size, which is defaulted to 512 in the function params. These are stored in scaleX and scaleY.
Line 7 we use CGAffineTransform to scale the image in both x and y directions by passing in the scaleX/Y created on the lines earlier.
Line 9 we apply the scaling transform to the outputImage by using the transformed(by:) method. This creates a new CIImage with the desired size.
On line 11 we use our correctly sized CIImage and convert it to a CGImage. The context used here is for handling the image rendering.
If all is successful at this point, on line 12 we use our CGImage and convert it to a UIImage to return to the caller, which in our case will be the view.
Setting up the View for the QR Code to Display
Now that we have a QR code in a UIImage format, we can use that in the view. It took a few steps to create it because of starting as a CIImage, then being scaled with a transform, and then created as a CGImage to then be returned as a UIImage. With all of that logic out of the way, all we need to do is make a call to this method with a string of text and then receive a UIImage back.
var body: some View {
    NavigationView {
        VStack(spacing: 20) {
            TextField("Enter text or URL", text: $inputText)
                .textFieldStyle(RoundedBorderTextFieldStyle())
                .padding()

            Image(uiImage: generateQRCode(from: inputText))
                .interpolation(.none)
                .resizable()
                .scaledToFit()
                .frame(width: 200, height: 200)
                .padding()

            Spacer()
        }
        .navigationTitle("QR Code Generator")
    }
}
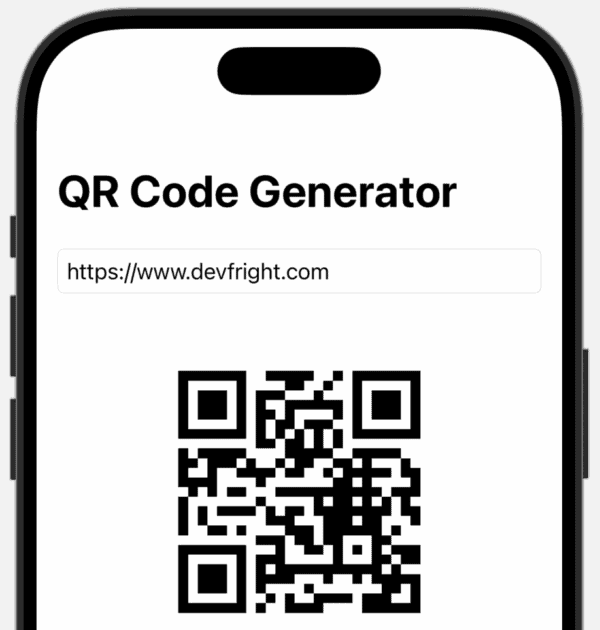
We setup a standard View here that has a NavigationView with a navigationTitle set as “QR Code Generator”. We then nest a VStack inside that contains a TextField which is where the user can enter text or a URL.
The TextField uses the text property, which is bound to the @State property via $inputText. This binding ensures that any changes made in the TextField automatically update the inputText state. Since the Image view relies on inputText to generate the QR code, each time the user types, the inputText value changes. As a result, the generateQRCode method is called on every key press, and the QR code is updated in real-time as the user types.
Go ahead and run the app now. It will work in the preview, simulator, or on device.
Leave a Reply
You must be logged in to post a comment.