iOS devices have several sensors built in that you can make use of in your app. One of them is the digital compass which is also known as a magnetometer. In todays tutorial I want to show you how how you can access the data so that you can use it in your app. The app will be very simple and will just use 8 UILabels with 4 of them being updated with various values.
 To begin with, create a new project in Xcode and choose a Single View Application. If you are not sure how to do this, take a look at my post called Setting up your First iOS Xcode Project which will get you to a fresh start and ready to create the app.
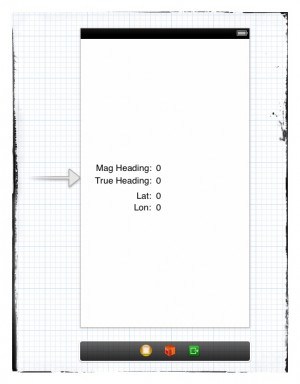
The next step is to drag our 8 UILabels. Put four of them down the left side of the screen and the other four down the right side as pictured here (aligning the text on the right hand labels to the left). Change the names to something like seen in the screen shot. You do not have to set the right hand set at zeros… anything will do, including blank UILabels.
Next, click on the middle Editor button (top right) to create a split to allow two files to be opened. On the left, click the Storyboard. The ViewController header file should then appear on the right.
At the top of the header file, import CoreLocation and also add the CLLocationManagerDelegate as follows:
#import

@interface ViewController : UIViewController
The first of these two lines indicates that we will be using some of the CoreLocation framework. The