When you create a SwiftUI view, the protocol defines that we need to return “some View”. The word “some” means that we are dealing with an opaque result type. This is a new feature added added in Swift 5.1. An opaque result type means that we must return one, and only one, of the specified type, in this case something that conforms to the “View” protocol.
This highlights a problem. Imagine if our view, ie… the part that the user interacts with on screen, was only able to show one Text field or perhaps one button, then interfaces would be incredibly boring.
Thankfully, there are types, such as stacks, that allow us to embed other views within the stack and then return the stack as a single view, thus, conforming to the View protocol and satisfying the opaque result type.
Please note that I speak about returning a view. With opaque types and Swift 5.1, we do not need to specify the return keyword. If you wanted to, you can still prepend line 3 by adding return to the front, but Swift 5.1 doesn’t care if the keyword return is used or not. My preference is not to use it because Apple doesn’t use it in the template.
struct ContentView: View {
    var body: some View {
        Text("Placeholder")
    }
}
The above code shows the basic template that is provided when we create a new SwiftUI file. We see that we declare a body a a variable which is “some View”, and then within that we simply return a Text view with “Placeholder” used as a string. This conforms to the View protocol and a single View is returned and displayed on the screen.
If you add another view to the body as seen in the example below, you’ll get an error when building the project:
struct ContentView: View {
    var body: some View {
        Text("Placeholder")
        Button(action: {
            // Do something
        }) {
            Text("Button")
        }
    }
}
The compiler will get confused and see that two views are trying to be returned when only one is expected.
This is where Stacks come in to play. There are three types of stacks. A HStack which stacks views horizontally across the screen, a VStack which stacks views vertically, and a ZStack which layers stacks on top of each other going in to the screen.
The HStack
Go ahead and wrap the Text and Button in a HStack as demonstrated below:
struct ContentView: View {
    var body: some View {
        HStack {
            Text("Placeholder")
            Button(action: {
                // do something
            }) {
                Text("Button")
            }
        }
    }
}
The HStack is a single view that is returned (remember, you could write “return HStack {” on the first line).
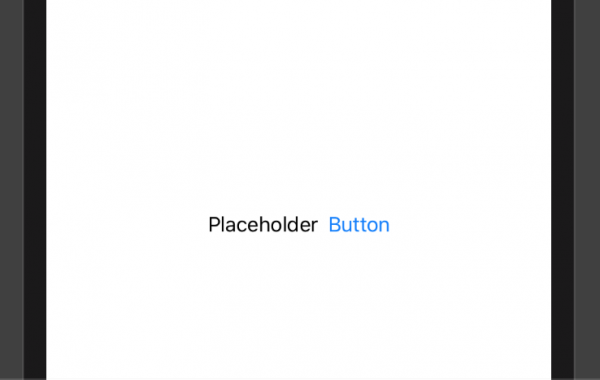
Everything between the HStack opening and closing curly braces is stacked horizontally across the screen. If you used the sample code above, you’ll see the following:

As expected, the Text field is to the left, because it was declared first, and the button is horizontally to the right.
Change the HStack to a VStack, and you’ll see the Text above the Button.
Change VStack to ZStack and you’ll see Placeholder in front of the Button (not ideal). You might consider using a ZStack if you were to have an image with some dynamic text in front of it.
With HStack organising views within its view, this also means that we can embed a stack within a stack and create more complex views.
struct ContentView: View {
    var body: some View {
        HStack {
            VStack {
                Text("Menu Item 1")
                Text("Menu Item 2")
                Spacer()
            }
            Spacer()
            VStack {
                Text("Placeholder")
                Button(action: {
                    // do something
                }) {
                    Text("Button")
                }
            }
        }
    }
}
Using the above example we have a HStack that has two VStacks embedded. I hope that this gives you an idea of how stacks work.
You might have noticed line 7 has “Spacer()”. This acts as a spring and pushes everything either side as far out as possible. I will cover padding and other settings that can also be used in another tutorial.
Any questions, ask below.
Leave a Reply
You must be logged in to post a comment.